Tuesday, March 13, 2012

Cockpit

I'm planning the restoration of the cockpit. Pictures to follow... I removed the new plastic headlining, and discovered that the two vinyl sunroofs look to be in reasonable condition - one could even be opened! The boat at the moment only has one seat - the helm. And it is not original. The original setup looks something like this (taken from the original brochure - Freeman 33 Sales Brochure ):


I'm trying to source originals, but it is proving difficult...

Saturday, March 3, 2012

Freeman 33 Davits

Here are my Davits:


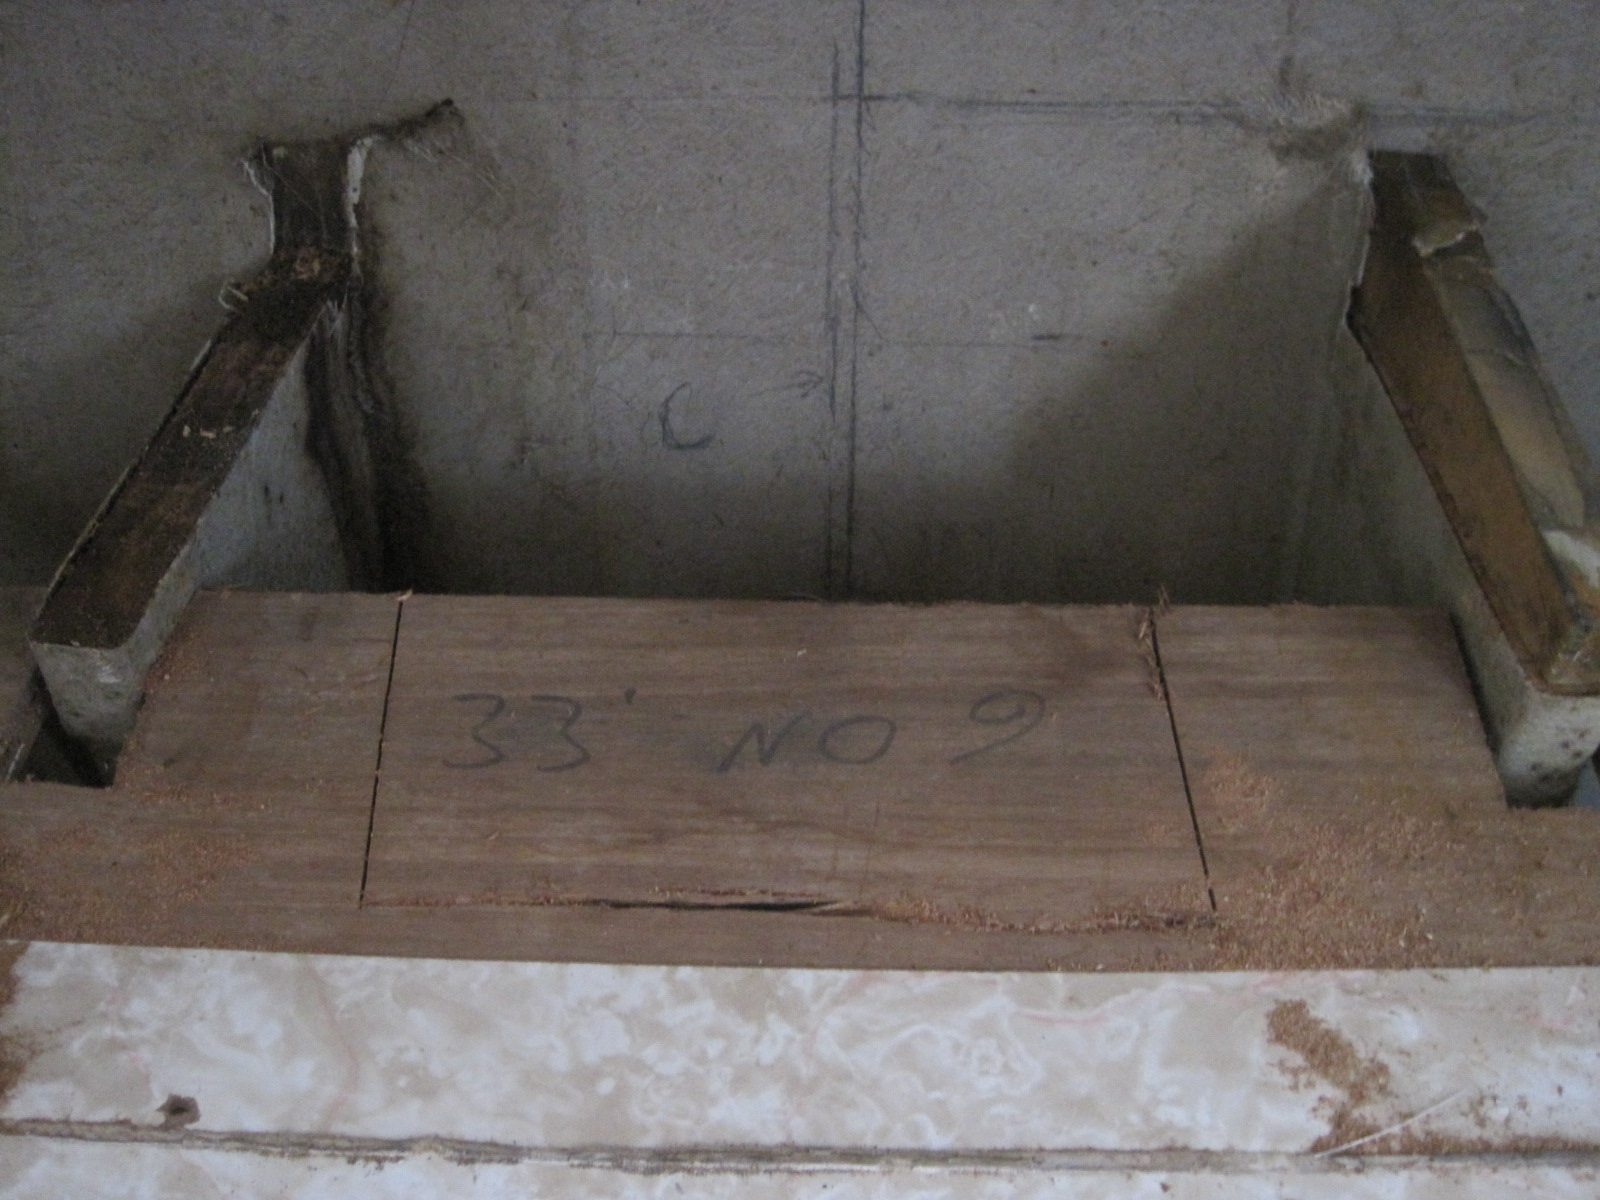
I had to remove them, as detailed in another post, because there was osmosis behind each foot. I am now trying to fix them - as you can see the one on the right must have met a wall. Need to find a pulley from somewhere!

Monday, May 16, 2011

Launch...

Finally got the boat back in for the 2011 season...


Up on the rather nifty trailer. Only fault with it is that the pads can't be widened. As it is, the pads match the shaft spacing perfectly!


And she floats! Here she is after a good power hosing. Need to compound the topsides now...

Sunday, April 17, 2011

Compounding the hull

I had bought this stuff months earlier, as I had seen good reports:

http://shurhold.com/buff-magic

And, in order to apply it properly, I bought one of the Silverline Polishers off ebay:

http://shop.ebay.co.uk/i.html?_nkw=silverline+polisher

I applied the compound with a brush, putting it on sparingly (as the instructions suggest), and then polished it away. I'm very impressed with the results:


This is the before and after shot. Quite a difference...

Thursday, April 14, 2011

Some stainless cooker protection

The laminate on the cooker lid had got badly damaged over the years. I imagine from being closed over turned off, but still hot, gas rings on the cooker.

So, I managed to get a bit of 314 Stainless (Kitchen Grade) cut to the right size for the reasonable price of €8. I smoothed the damaged laminate with a sanding disk attached to my drill, and then roughened all the laminate where the stainless would bond. I then roughened the stainless in order to give the epoxy something to bond to. I coated both laminate and stainless with epoxy and added some weights to press them together. The next day I had this...

Monday, April 11, 2011

Gas locker progress

In the end, I had to cut the supports from underneath the locker in order to drop it down below the bump in the deck. This was after I had removed all the glass from around the top of the locker, which was holding the locker to the deck.

It looks to me like the gas locker went into the boat before the deck and hull were joined. The lesson: don't leave your gas locker to rust!


When I had the locker out, I could take some proper measurements. These lockers were designed for British 'half size' gas bottles (as far as I can tell). These bottles are slightly smaller than Irish ones (God knows why!). So, I designed up a new locker and went to get some quotes...

I looked at Stainless Steel (316 Marine Grade) but this was much, much too expensive. I have since settled on mild steel plate (galvanised) and will have the new, enlarged locker, within the week.

The next headache will be trying to fit it back into the boat!

Monday, March 28, 2011

Blisters & Davits

I decided to remove the davits from the boat, as one of them had been damaged. Turns out that there was significant blistering of the hull where the davit met the transom.


The davits have a hollow in their feet (where they meet the transom) and this appears to have collected water over the years. It looks like this water was against the hull for a long time, causing blistering. Some of the blisters were bad enough to have caused de-lamination.

So, I ground them out, washed them and let them sit for as long as possible:


I will fill them with epoxy before the boat goes back in the water...